Day 2 #KubeWeek : Mastering Kubernetes Networking 🌐

Welcome to Day 2 of the KubeWeek challenge! Today, we will dive into the fascinating world of Kubernetes networking. We'll explore services, ingress, network policies, DNS, and CLI plugins with detailed explanations and code examples. By the end of this blog, you'll have a solid understanding of how to manage and secure your Kubernetes network.
Introduction to Kubernetes Networking 🚀
Kubernetes networking can seem daunting at first, but it's an essential part of managing a Kubernetes cluster. It involves how pods communicate with each other, how traffic is routed to your services, and how to secure these communications. Let's break it down step by step.
Services in Kubernetes 🛠️
In Kubernetes, services abstract the way applications communicate with each other. They provide a stable endpoint (IP and port) that helps in load balancing and service discovery. There are four main types of services:
ClusterIP (default)
NodePort
LoadBalancer
ExternalName
1. ClusterIP Service 🏠
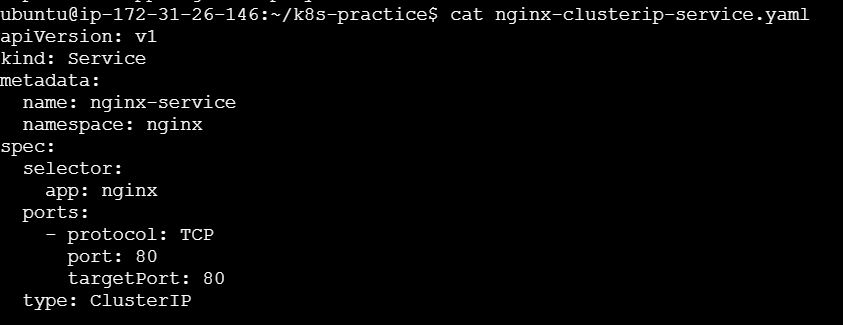
ClusterIP exposes the service on an internal IP in the cluster. This type of service is only accessible within the cluster.
Code Example:
apiVersion: v1
kind: Service
metadata:
  name: nginx-service
  namespace: nginx
spec:
  selector:
    app: nginx
  ports:
    - protocol: TCP
      port: 80
      targetPort: 80
  type: ClusterIP
Explanation:
metadata.name: The name of the service.namespace: The namespace where the service is created.spec.selector: Selects the pods that will receive the traffic.spec.ports: Specifies the port on which the service is exposed and the target port on the pods.
To run this service:
kubectl apply -f clusterip-service.yaml
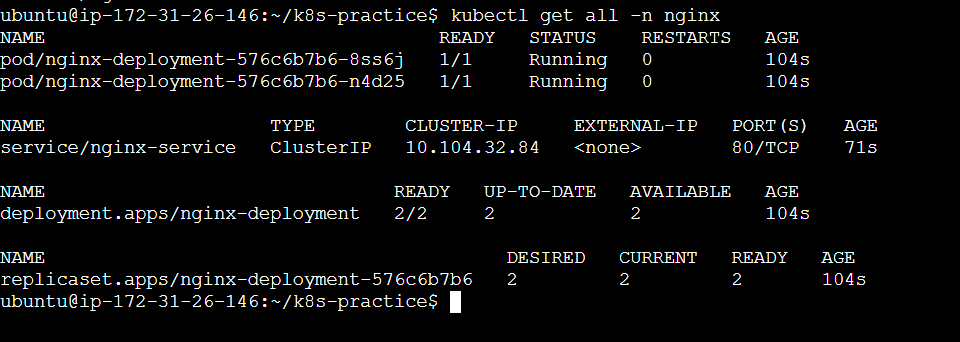

ClusterIP doesn't get expose so you need to do Port forwarding

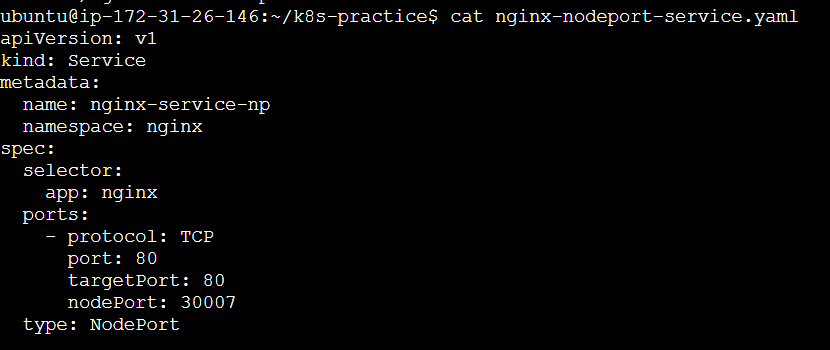
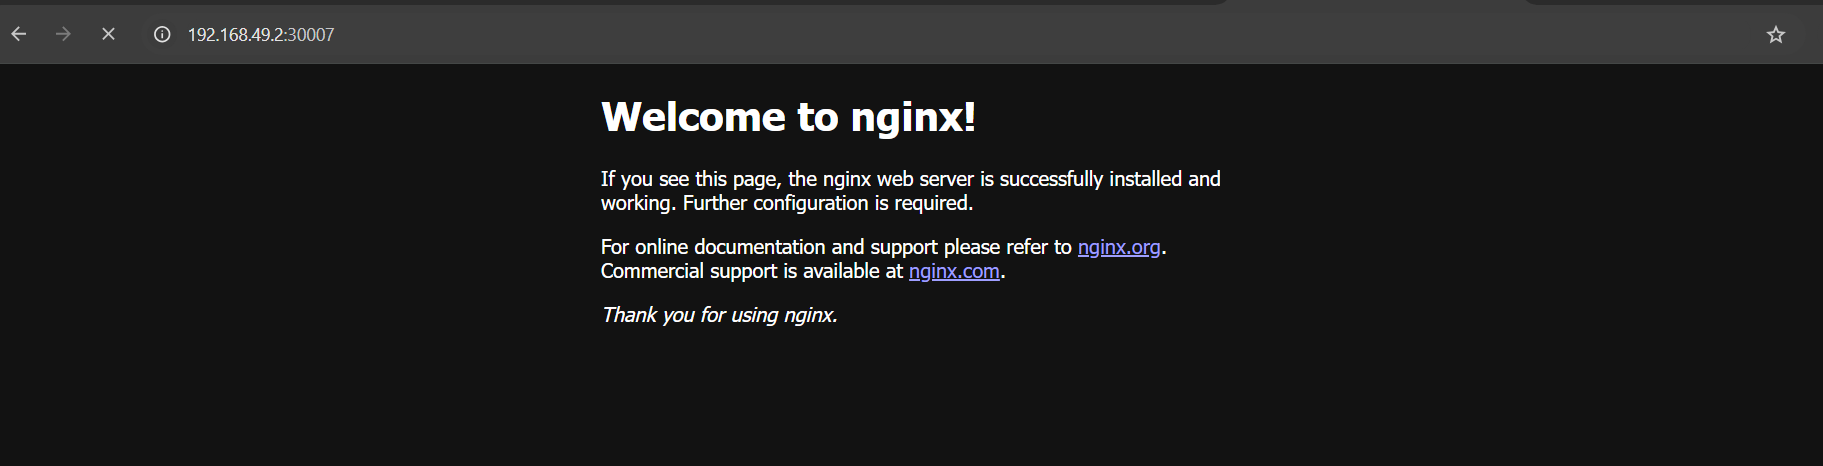
2. NodePort Service 🌐
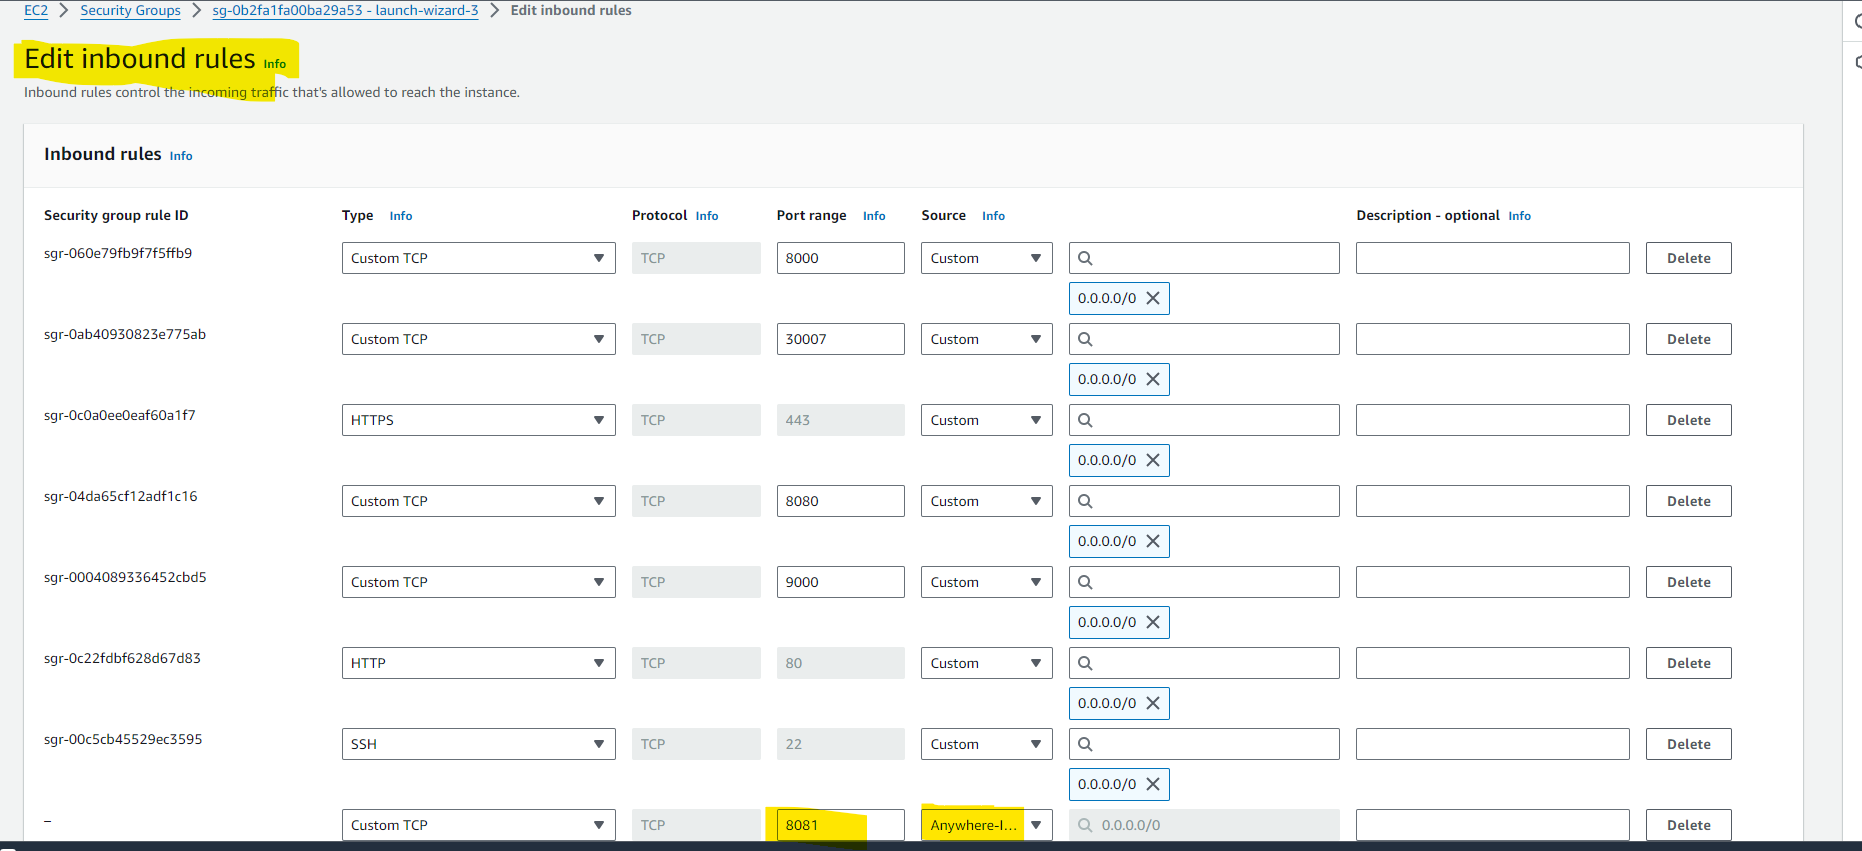
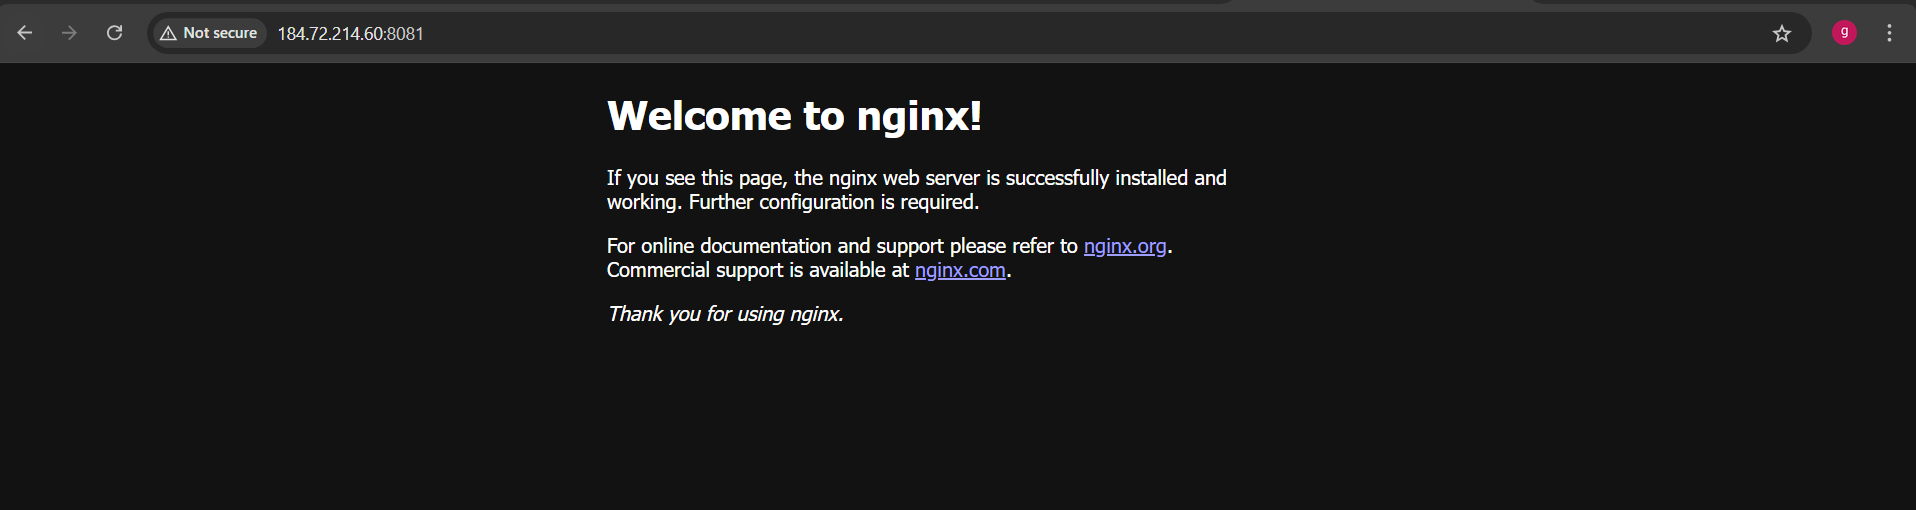
NodePort exposes the service on each Node’s IP at a static port. This makes the service accessible from outside the cluster.
Code Example:
apiVersion: v1
kind: Service
metadata:
  name: nginx-service-np
  namespace: nginx
spec:
  selector:
    app: nginx
  ports:
    - protocol: TCP
      port: 80
      targetPort: 8080
      nodePort: 30007
  type: NodePort
Explanation:
nodePort: The port on each node where the service is exposed.
To run this service:
kubectl apply -f nodeport-service.yaml

3. LoadBalancer Service 📡
LoadBalancer exposes the service externally using a cloud provider’s load balancer.
Code Example:
apiVersion: v1
kind: Service
metadata:
  name: nginx-service-loadbalancer
  namespace: nginx
spec:
  selector:
    app: nginx
  ports:
    - protocol: TCP
      port: 80
      targetPort: 8080
  type: LoadBalancer
Explanation:
- This service type automatically creates an external load balancer and assigns a fixed, external IP to the service.
To run this service:
kubectl apply -f loadbalancer-service.yaml
4. ExternalName Service 🔗
ExternalName maps a service to a DNS name, allowing you to connect to external services using a Kubernetes service.
Code Example:
yamlCopy codeapiVersion: v1
kind: Service
metadata:
  name: nginx-service-externalname
  namespace: nginx
spec:
  type: ExternalName
  externalName: example.com
Explanation:
externalName: The DNS name of the external service.
To run this service:
kubectl apply -f externalname-service.yaml
What is Ingress?
Ingress is an API object that manages external access to services in a Kubernetes cluster, typically HTTP and HTTPS. It provides a single point of entry for external traffic and can manage multiple services with different routing rules.
Key Features of Ingress
Load Balancing: Distributes traffic across multiple backend services.
SSL Termination: Terminates SSL/TLS connections.
Name-Based Virtual Hosting: Routes traffic to different services based on the hostname.
Path-Based Routing: Routes traffic to different services based on the request path.
We have 2 deployments here
apache-deployment
nginx deployment


Create an Ingress resource to route traffic based on the URL path.

port forward to access the Apache service on browser.
kubectl port-forward svc/apache-service 8082:80 --address 0.0.0.0 &

port forward to access the NGINX service on browser.
kubectl port-forward svc/nginx-service 8083:80 --address 0.0.0.0 &

To run ingress on minikube you need to run addon command as below
minikube addons enable ingress

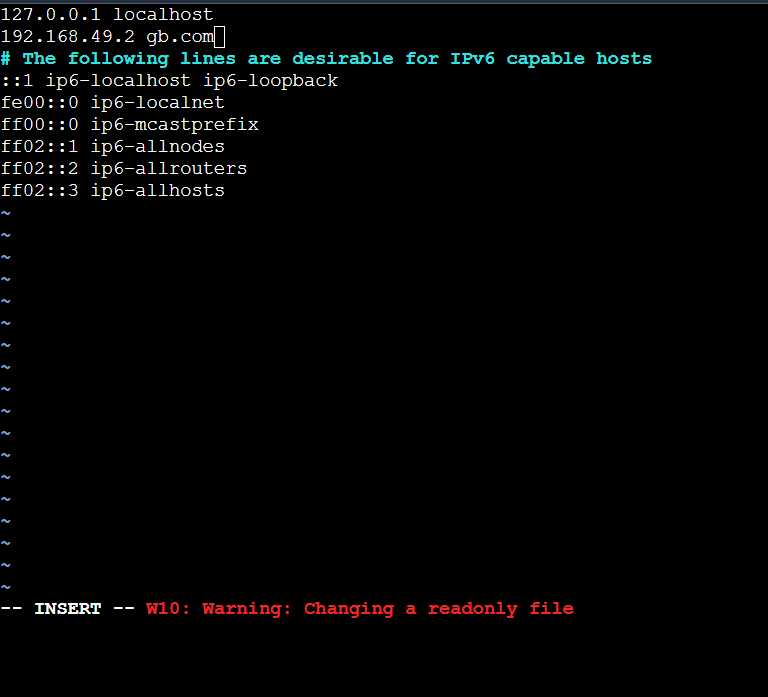
For running/checking ingress on local you need to make changes in /etc/hosts by adding the private IP to it


To redirect to url on host use curl command


Ingress in Kubernetes is a powerful resource that simplifies managing external access to your services. By using Ingress Controllers like Nginx and Apache, you can efficiently route traffic, balance loads, and secure your applications. Whether you choose Nginx or Apache, understanding and implementing Ingress will significantly enhance your Kubernetes skills.
Network Policies 🔐
Introduction to Network Policies
Network Policies are Kubernetes resources that control the traffic between pods. They allow you to define rules for ingress and egress traffic.
Example Network Policy
Code Example:
apiVersion: networking.k8s.io/v1
kind: NetworkPolicy
metadata:
  name: allow-app-traffic
  namespace: nginx
spec:
  podSelector:
    matchLabels:
      app: my-app
  policyTypes:
    - Ingress
    - Egress
  ingress:
    - from:
        - podSelector:
            matchLabels:
              app: allowed-app
  egress:
    - to:
        - podSelector:
            matchLabels:
              app: allowed-app
Command to apply:
kubectl apply -f network-policy.yaml
DNS in Kubernetes 🧩
Introduction to DNS
Kubernetes DNS is a built-in DNS server that assigns DNS names to services and pods. This allows you to access services using a domain name instead of an IP address.
How It Works
When a service is created, Kubernetes automatically assigns a DNS name to it.
Pods can then access the service using this DNS name.
Example
Accessing a service using DNS:
curl http://my-clusterip-service.nginx.svc.cluster.local
CLI Plugins 🛠️
Introduction to CLI Plugins
kubectl plugins extend the functionality of the Kubernetes command-line tool. They allow you to add new commands and automate repetitive tasks.
Examples of CLI Plugins
kubectl-krew: A package manager for kubectl plugins.
kubectl krew install <plugin-name>kubectl-top: Displays resource usage.
kubectl top podkubectl-neat: Cleans up kubectl output.
kubectl neat get pod
Conclusion 🎉
And there you have it! We've covered the essentials of Kubernetes networking, from services and ingress controllers to network policies, DNS, and CLI plugins. Understanding these concepts will significantly enhance your ability to manage and troubleshoot your Kubernetes clusters.
Remember, Kubernetes is a powerful tool, and mastering its networking capabilities will make you a more effective DevOps engineer. Keep experimenting, keep learning, and happy coding! 🚀
Don't forget to share your thoughts and questions in the comments below. Let's keep the conversation going! 💬
Thank you for joining me on this Kubernetes journey. Stay tuned for more exciting topics in the Kubeweek challenge!


